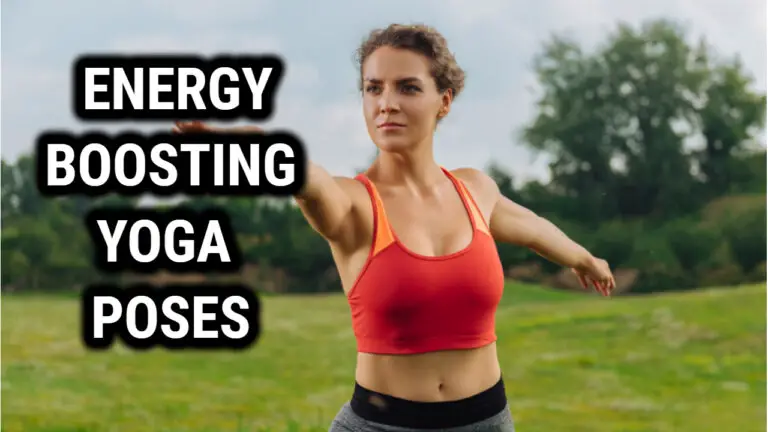
14 Yoga Asanas for a Stiff Body: Poses To Improve Flexibility
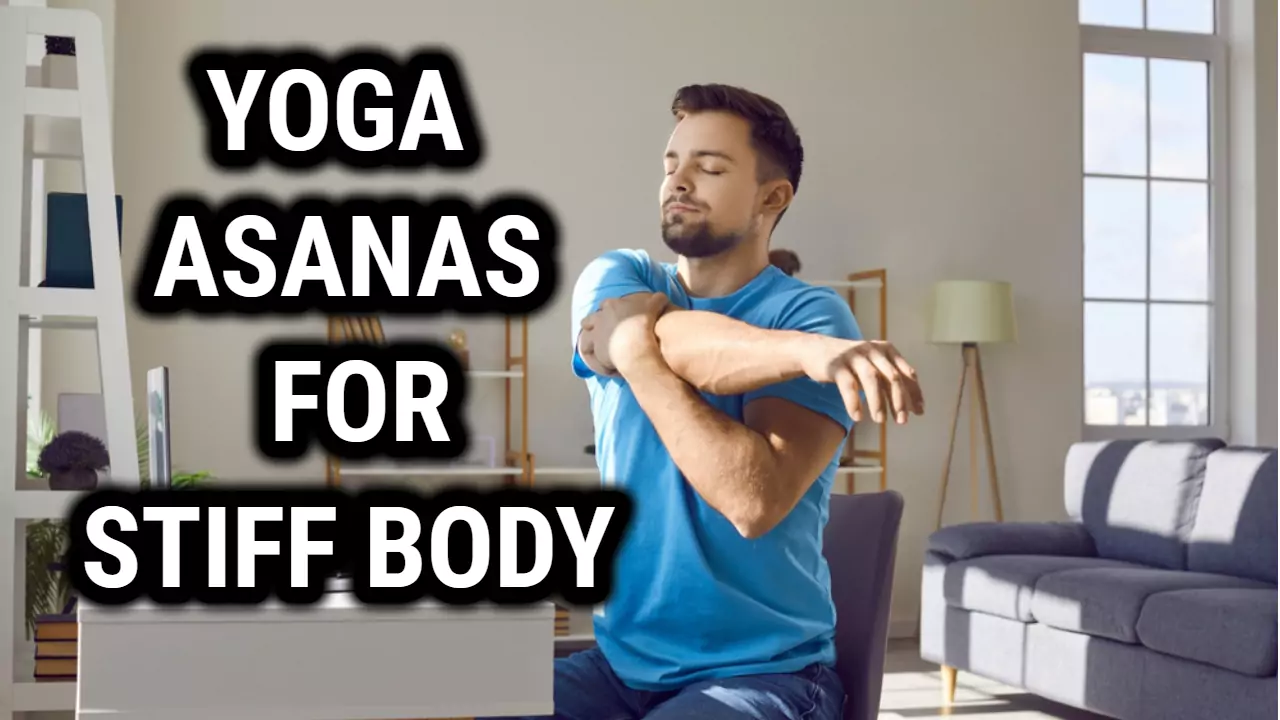
Yoga is an ancient practice that has been proven to have many health benefits, from reducing stress and anxiety to improving flexibility and strength. However, for those of us with a very stiff body, the thought of contorting ourselves into various poses can seem daunting.
But fear not! With the right approach, even the stiffest of bodies can learn to love yoga. In this article, we’ll explore the best yoga asanas for a very stiff body, as well as tips for preparing for a yoga routine.
Understanding a Very Stiff Body
Before diving into the asanas, it’s important to understand what we mean by a “very stiff body.” This can be caused by a variety of factors, from a sedentary lifestyle to previous injuries or medical conditions. Whatever the cause, a stiff body can have negative effects on our overall health, such as limited mobility, poor circulation, and increased risk of injury.
That’s why it’s important to adapt to a yoga routine that can help improve flexibility and overall health. But where do we start?
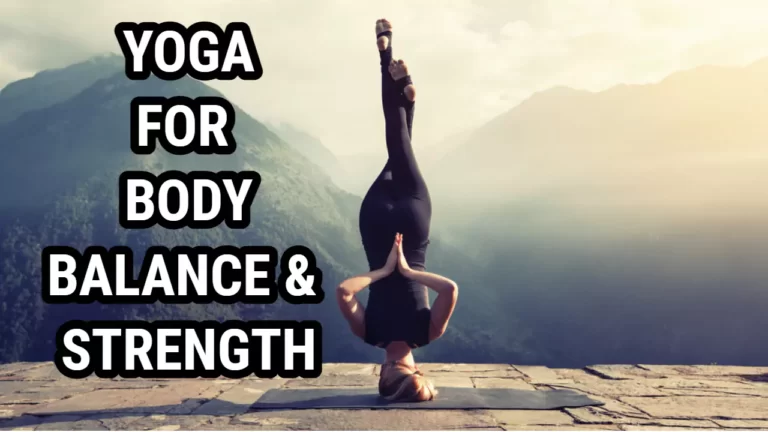
Best Yoga Asanas for a Very Stiff Body
Not all yoga poses are created equal, especially when it comes to those of us with a very stiff body. Here are some of the best beginner yoga asanas to help ease you into your practice:
1. Mountain Pose (Tadasana)
Mountain Pose may seem simple, but it is the foundation for many other yoga poses. It helps to improve posture and balance, as well as strengthen the legs and core. Here’s how to do it:
- Stand with your feet hip-width apart and arms at your sides.
- Engage your thighs and lift your kneecaps.
- Lengthen your tailbone toward the floor.
- Draw your shoulder blades down and back, while keeping your chest open.
- Relax your face and breathe deeply.
Modifications: If you have trouble balancing, try standing with your back against a wall for support.
Common mistakes: Avoid locking your knees or hunching your shoulders.
2. Downward-Facing Dog (Adho Mukha Svanasana)
Downward-Facing Dog is a great pose for stretching out the entire body, from the shoulders to the hamstrings. It also helps to improve circulation and relieve stress. Here’s how to do it:
- Start on your hands and knees, with your wrists directly under your shoulders and knees under your hips.
- Spread your fingers and press firmly into your hands.
- Lift your knees off the ground and straighten your legs.
- Lengthen your tailbone toward the ceiling.
- Press your heels toward the floor, while keeping your head and neck relaxed.
Modifications: If you have trouble straightening your legs, try bending your knees slightly. You can also place your hands on blocks to make the pose more accessible.
Common mistakes: Avoid rounding your shoulders or letting your head hang. Keep your weight evenly distributed between your hands and feet.
3. Child’s Pose (Balasana)
Child’s Pose is a great pose for relaxation and gentle stretching of the hips, thighs, and ankles. It can also help to relieve stress and tension in the body. Here’s how to do it:
- Start on your hands and knees, with your wrists directly under your shoulders and knees under your hips.
- Lower your hips back toward your heels, while keeping your arms extended.
- Rest your forehead on the floor and breathe deeply.
- If it’s comfortable, stretch your arms forward and rest your chest on the ground.
Modifications: If you have trouble sitting on your heels, try placing a folded blanket or cushion under your knees.
Common mistakes: Avoid overstretching or straining your neck. Focus on keeping your breath slow and steady.
4. Warrior II (Virabhadrasana II)
Warrior II is a great pose for strengthening the legs, hips, and core, while also improving balance and concentration. Here’s how to do it:
- Stand with your feet wide apart, with your right foot facing forward and left foot turned slightly inward.
- Raise your arms to shoulder height, with palms facing down.
- Bend your right knee, while keeping your left leg straight.
- Turn your head to look over your right hand.
- Hold the pose for several breaths, then repeat on the other side.
Modifications: If you have trouble bending your knee, try placing a block under your right hand for support.
Common mistakes: Avoid letting your knee go past your ankle, or collapsing your chest. Keep your shoulders relaxed and facing forward.
5. Cat-Cow Pose (Marjaryasana-Bitilasana)
Cat-Cow Pose is a great pose for warming up the spine and improving flexibility in the back and neck. Here’s how to do it:
- Start on your hands and knees, with your wrists directly under your shoulders and knees under your hips.
- Inhale, and arch your back while lifting your head and tailbone.
- Exhale, and round your spine while tucking your chin to your chest.
- Continue flowing between the two poses, moving with your breath.
Modifications: If you have trouble with your wrists, try using yoga blocks for support.
Common mistakes: Avoid over-arching your back or straining your neck. Keep your movements slow and controlled.
6. High Lunge (Alanasana)
High Lunge is a great pose for stretching the hip flexors, hamstrings, and quadriceps, while also improving balance and stability. Here’s how to do it:
- Start in Downward-Facing Dog.
- Step your right foot forward between your hands, coming into a lunge position.
- Raise your arms overhead, keeping your shoulders relaxed and facing forward.
- Hold the pose for several breaths, then repeat on the other side.
Modifications: If you have trouble with balance, try placing your hands on your hips or a wall for support.
Common mistakes: Avoid letting your knee go past your ankle, or collapsing your chest. Keep your shoulders relaxed and facing forward.
7. Warrior I (Virabhadrasana I)
Warrior I is a great pose for stretching the hip flexors, thighs, and calves, while also improving balance and concentration. Here’s how to do it:
- Start in Downward-Facing Dog.
- Step your right foot forward between your hands, coming into a lunge position.
- Pivot your back foot inward, so that your back heel is on the ground and your toes are turned slightly outward.
- Raise your arms overhead, keeping your shoulders relaxed and facing forward.
- Hold the pose for several breaths, then repeat on the other side.
Modifications: If you have trouble with balance, try placing your hands on your hips or a wall for support.
Common mistakes: Avoid letting your knee go past your ankle, or collapsing your chest. Keep your shoulders relaxed and facing forward.
8. Triangle Pose (Trikonasana)
Triangle Pose is a great pose for stretching the hips, hamstrings, and lower back, while also improving balance and concentration. Here’s how to do it:
- Stand with your feet wide apart, with your right foot facing forward and left foot turned slightly inward.
- Extend your arms to shoulder height, with palms facing down.
- Hinge at your hips and reach your right hand toward your right foot, keeping your left arm extended upward.
- Keep your gaze upward, or turn your head to look at your left hand.
- Hold the pose for several breaths, then repeat on the other side.
Modifications: If you have trouble reaching the floor, try using a block for support.
Common mistakes: Avoid collapsing your chest, or letting your knee go past your ankle. Keep your shoulders relaxed and facing forward.
9. Bridge Pose (Setu Bandha Sarvangasana)
Bridge Pose is a great pose for stretching the chest, neck, and spine, while also strengthening the legs, hips, and glutes. Here’s how to do it:
- Lie on your back with your knees bent and feet hip-width apart.
- Place your arms by your sides, with palms facing down.
- Inhale, and lift your hips upward while pressing your feet and arms into the ground.
- Keep your shoulders relaxed and neck long, and hold the pose for several breaths.
- Exhale, and slowly lower your hips back down to the ground.
Modifications: If you have trouble lifting your hips, try using a block or bolster under your sacrum for support.
Common mistakes: Avoid clenching your glutes or tensing your neck. Keep your movements slow and controlled.
10. Warrior III (with Blocks) (Virabhadrasana III)
Warrior III is a great pose for strengthening the legs, hips, and core, while also improving balance and concentration. Here’s how to do it:
- Stand with your feethip-width apart, and hold a block in each hand.
- Inhale, and raise your arms overhead.
- Exhale, and hinge forward from your hips, lifting your right leg back behind you.
- Keep your gaze downward, and extend your arms and left leg forward.
- Hold the pose for several breaths, then repeat on the other side.
Modifications: If you have trouble with balance, try using a wall or chair for support. You can also place the blocks under your hands for support.
Common mistakes: Avoid arching your back or rounding your shoulders. Keep your movements slow and controlled.
11. Seated Forward Bend (Paschimottanasana)
Seated Forward Bend is a great pose for stretching the hamstrings, lower back, and hips, while also calming the mind and relieving stress. Here’s how to do it:
- Sit on the ground with your legs extended in front of you.
- Inhale, and lengthen your spine.
- Exhale, and fold forward from your hips, reaching for your toes or ankles.
- Keep your gaze forward, and hold the pose for several breaths.
- Inhale, and slowly return to an upright position.
Modifications: If you have trouble reaching your toes, try using a strap or towel to extend your reach.
Common mistakes: Avoid rounding your back or forcing your body into the pose. Instead, let your body naturally move into the stretch.
12. Tree Pose (Vrikshasana)
Tree Pose is a great pose for improving balance and concentration, while also strengthening the legs and core. Here’s how to do it:
- Stand with your feet hip-width apart, and shift your weight onto your left foot.
- Place your right foot on the inside of your left thigh, with your toes pointing downward.
- Raise your arms overhead, and bring your palms together.
- Hold the pose for several breaths, then repeat on the other side.
Modifications: If you have trouble balancing, try placing your foot on your calf or ankle instead of your thigh.
Common mistakes: Avoid leaning to one side, or collapsing your chest. Keep your shoulders relaxed and facing forward.
13. Pigeon Pose (Eka Pada Rajakapotasana)
Pigeon Pose is a great pose for stretching the hips, groin, and lower back, while also calming the mind and relieving stress. Here’s how to do it:
- Start in Downward-Facing Dog.
- Bring your right knee forward and place it behind your right wrist, with your right ankle near your left wrist.
- Extend your left leg behind you, and lower your body onto your right hip.
- Hold the pose for several breaths, then repeat on the other side.
Modifications: If you have trouble lowering your body onto your hip, try using a block or bolster for support.
Common mistakes: Avoid forcing your body into the pose, or collapsing your chest. Keep your movements slow and controlled.
14. Half Lord of the Fishes (Ardha Matsyendrasana)
Half Lord of the Fishes is a great pose for stretching the spine, hips, and neck, while also improving digestion and detoxification. Here’s how to do it:
- Sit on the ground with your legs extended in front of you.
- Bend your right knee and place your right foot outside your left hip.
- Bring your left foot over your right knee, with your left foot on the ground.
- Place your left hand on the ground behind you, and raise your right arm overhead.
- Twist your torso to the right, and hold the pose for several breaths.
- Repeat on the other
Modifications: If you have trouble sitting upright, try sitting on a block or bolster. You can also place your left elbow on the outside of your right knee for support.
Common mistakes: Avoid collapsing your chest or straining your neck. Keep your movements slow and controlled, and focus on breathing deeply.
Preparing for Your Yoga Routine
Now that we’ve explored some of the best yoga asanas for a very stiff body, it’s important to prepare properly for your yoga routine. Here are some tips to help you get started:
Start Slowly
It’s important to start slowly and listen to your body. Don’t try to force yourself into poses that feel uncomfortable or painful. Instead, focus on building up your strength and flexibility gradually over time.
Use Props
Yoga props such as blocks, straps, and blankets can be very helpful for those with a stiff body. They can help you modify poses to make them more accessible, and also provide support and stability.
Practice Mindfulness
Yoga is not just about physical exercise, but also about mindfulness and self-awareness. Take time to connect with your breath and focus on the present moment. This can help to reduce stress and improve overall well-being.
Stay Hydrated
Drinking plenty of water before, during, and after your yoga practice can help to keep your body hydrated and prevent muscle cramps and soreness.
Listen to Your Body
Above all, it’s important to listen to your body and honor its needs. If a pose feels uncomfortable or painful, back off and try a modified version or skip it altogether. Remember, yoga is a personal journey, and there is no one-size-fits-all approach.
Conclusion
Yoga is a great way to improve flexibility, strength, and overall health, even if you have a very stiff body. By starting with these beginner yoga asanas and following these tips for preparation, you can begin to enjoy the benefits of yoga in a safe and gentle way. Remember to be patient with yourself and listen to your body, and soon you’ll find yourself feeling more limber and relaxed than ever before. Namaste.