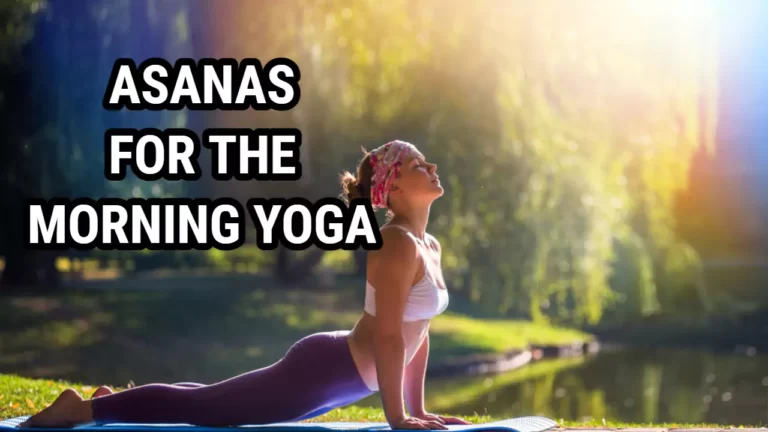
Easy Bikram Yoga Poses For Beginners

Are you looking to try out Bikram Yoga for the first time but feeling intimidated by the challenging poses you see in pictures? Don’t worry, even experienced yogis had to start somewhere.
Bikram Yoga, is also known as hot yoga, is a type of yoga that is performed in a heated room, usually set to 105 degrees Fahrenheit. It is a great way to improve your flexibility, strength, and overall well-being. Here, we will be discussing some easy Bikram Yoga poses that are perfect for beginners.
Importance of Starting with Easy Poses
When starting Bikram Yoga, it’s essential to begin with easy poses that will help you build up your strength and flexibility. By doing so, you will be able to get comfortable with the heat and the postures, which will help you progress to more advanced poses.
Don’t feel discouraged if you’re struggling with some of the poses at first. It takes time and practice to perfect them, and the most important thing is to listen to your own body and not push yourself too hard.
Standing Poses
Standing poses are an essential part of Bikram Yoga. They are great for building strength and balance, and they help to increase blood flow throughout the body. Here are three easy standing poses that are perfect for beginners:
Mountain Pose
Mountain Pose, also known as Tadasana, is a fundamental pose that is used as a foundation for many other yoga poses. To perform this pose:
- Stand with your feet hip-width apart.
- Lift your toes and spread them out, then place them back on the mat.
- Engage your thighs and lift your kneecaps.
- Tuck in your tailbone and engage your core.
- Roll your shoulders back and down.
- Reach your arms up towards the ceiling.
Hold the position for 40 seconds to 1 minute, focusing on your breath and your posture.
Half Moon Pose
Half Moon Pose, also known as Ardha Chandrasana, is a balancing pose that strengthens the legs, improves posture, and stretches the hamstrings. To perform this pose:
- Start in Mountain Pose.
- Shift your bodyweight onto your left foot and lift your right foot off the ground.
- Extend your right leg behind you and reach your right arm forward.
- Bend your left knee and place your left hand on the ground.
- Rotate your torso and lift your right leg up towards the ceiling.
- Reach your right arm up towards the ceiling.
Hold the pose for 30 seconds to 1 minute, then switch sides.
Awkward Pose
Awkward Pose, also known as Utkatasana, is a strengthening pose that targets the thighs, hips, and glutes. To perform this pose:
- Begin in Mountain Pose.
- Inhale and raise your arms up above your head.
- Exhale and squat down as if you are sitting in an imaginary chair.
- Keep your knees together and your feet parallel.
- Reach your arms forward and keep your shoulders relaxed.
- Hold the pose for 30 seconds to 1 minute, then stand back up.
Seated Poses
Seated poses are a great way to stretch out your hips and lower back, which can become tight from sitting for long periods. Here are three easy seated poses that are perfect for beginners:
Cobra Pose
Cobra Pose, also known as Bhujangasana, is a backbend that strengthens the spine and opens up the chest. To perform this pose:
- Lie on your stomach with your palms flat on the ground next to your shoulders.
- Inhale and lift your chest off the ground
- Keep your elbows close to your body and use your back muscles to lift yourself up.
- Hold the pose for 40 seconds to 1 minute, then release back down.
Camel Pose
Camel Pose, also known as Ustrasana, is a backbend that stretches the chest, shoulders, and spine. To perform this pose:
- Kneel on the mat with your knees hip-width apart.
- Place your hands on your lower back with your fingers pointing down.
- Inhale and lift your chest up towards the ceiling.
- Reach your hands down towards your heels.
- Hold the pose for 30 seconds to 1 minute, then release.
Rabbit Pose
Rabbit Pose, also known as Sasangasana, is a forward fold that stretches the spine and neck. To perform this pose:
- Begin in Child’s Pose, with your forehead on the mat and your arms extended out in front of you.
- Reach back and hold onto your heels with your hands.
- Inhale and lift your hips up towards the ceiling.
- Exhale and tuck your chin towards your chest, rolling your head towards your knees.
- Hold the pose for 30 seconds to 1 minute, then release.
Balancing Poses
Balancing poses are great for improving focus and concentration, as well as building strength and stability. Here are three easy balancing poses that are perfect for beginners:
Eagle Pose
Eagle Pose, also known as Garudasana, is a balancing pose that stretches the shoulders and hips. To perform this pose:
- Stand with your feet hip-width apart.
- Bend your knees little bit and lift your left foot off the ground.
- Put across your left thigh over your right thigh, hooking your left foot behind your right calf.
- Place your left arm over your right arm, and bring your palms together.
- Hold the pose for 40 seconds to 1 minute, then switch sides.
Tree Pose
Tree Pose, also known as Vrikshasana, is a balancing pose that strengthens the legs and improves balance. To perform this pose:
- Stand with your feet hip-width apart.
- Move your weight onto your left foot and lift your right foot off the ground.
- Place the bottom part of your right foot on your left inner thigh.
- Join your hands together in front of your chest area.
- Hold the pose for 45 seconds to 1 minute, then switch sides.
Toe Stand Pose
Toe Stand Pose, also known as Padangusthasana, is a balancing pose that stretches the hips and strengthens the ankles. To perform this pose:
- Begin in Mountain Pose.
- Bend your knees and lift your heels off the ground.
- Lower yourself down onto the balls of your feet.
- Join your hands together in front of your chest.
- Hold the pose for 40 seconds to 1 minute, then release.
Closing Poses
Closing poses are a great way to wind down your practice and prepare for relaxation. Here are three easy closing poses that are perfect for beginners:
Wind-Relieving Pose
Wind-Relieving Pose, also known as Pawanmuktasana, is a gentle pose that helps to relieve gas and bloating in the digestive system. To perform this pose:
- Sleep on your back with your legs extended.
- Arch your right knee and bring it close towards your chest.
- Hold onto your right knee with both hands.
- Keep your left leg extended on the ground.
- Hold the pose for 45 seconds to 1 minute, then switch sides.
Spine Twisting Pose
Spine Twisting Pose, also known as Ardha Matsyendrasana, is a gentle twist that stretches the spine and improves digestion. To perform this pose:
- Rest on your yoga mat with your legs extended in front of you.
- Arch your right knee and bring your foot to the outside of your left knee.
- Put your left hand on your right knee.
- Inhale and lengthen your spine.
- Exhale and twist to the right, looking over your right shoulder.
- Hold the pose for 40 seconds to 1 minute, then switch sides.
Corpse Pose
Corpse Pose, also known as Savasana, is a relaxation pose that is usually performed at the end of a yoga practice. To perform this pose:
- Lie on your back with your hands extended out to the sides.
- Close your eyes and take a nice deep breath.
- Relax your entire body, releasing any tension.
- Stay in the pose for 5-10 minutes, or longer if you prefer.
FAQ
1. Is Bikram yoga suitable for beginners?
Yes, Bikram yoga can be a great option for beginners. The practice consists of a set sequence of 26 poses, which makes it easy to follow along. However, it’s important to listen to your body and take breaks or modify poses as needed.
2. Do I need to be flexible to do Bikram yoga?
No, you don’t need to be flexible to do Bikram yoga. The practice is designed to improve flexibility and strength over time. You should start where you are and work at your own pace.
3. How often should I practice Bikram yoga?
It’s up to you how often you want to practice. Ideally, practicing 2-3 times per week can help you see results. However, even practicing once a week can be beneficial.
4. What should I wear to Bikram yoga?
Wear comfortable, breathable clothing that allows you to move freely. Avoid wearing anything too tight or restrictive. You will also want to bring a towel and a water bottle.
5. What if I can’t do a certain pose?
If you can’t do a certain pose, don’t worry. You can modify the pose or skip it altogether. The most important thing is to listen to your body and not push yourself beyond your limits.
Conclusion
Bikram yoga can seem intimidating at first, especially if you’re new to yoga or exercise in general. However, with a little bit of experience and patience, you can master these easy Bikram yoga poses and start reaping the benefits of a regular yoga practice.
Remember, yoga is not a competition. Don’t push yourself beyond your limits. If you need to modify a pose or take a break, that’s okay. The most important thing is to stay present and enjoy the journey.
So, roll out your yoga mat, take some water, and let’s get started!