Get Moving: Wrist Yoga Poses for Stronger, Healthier Joints

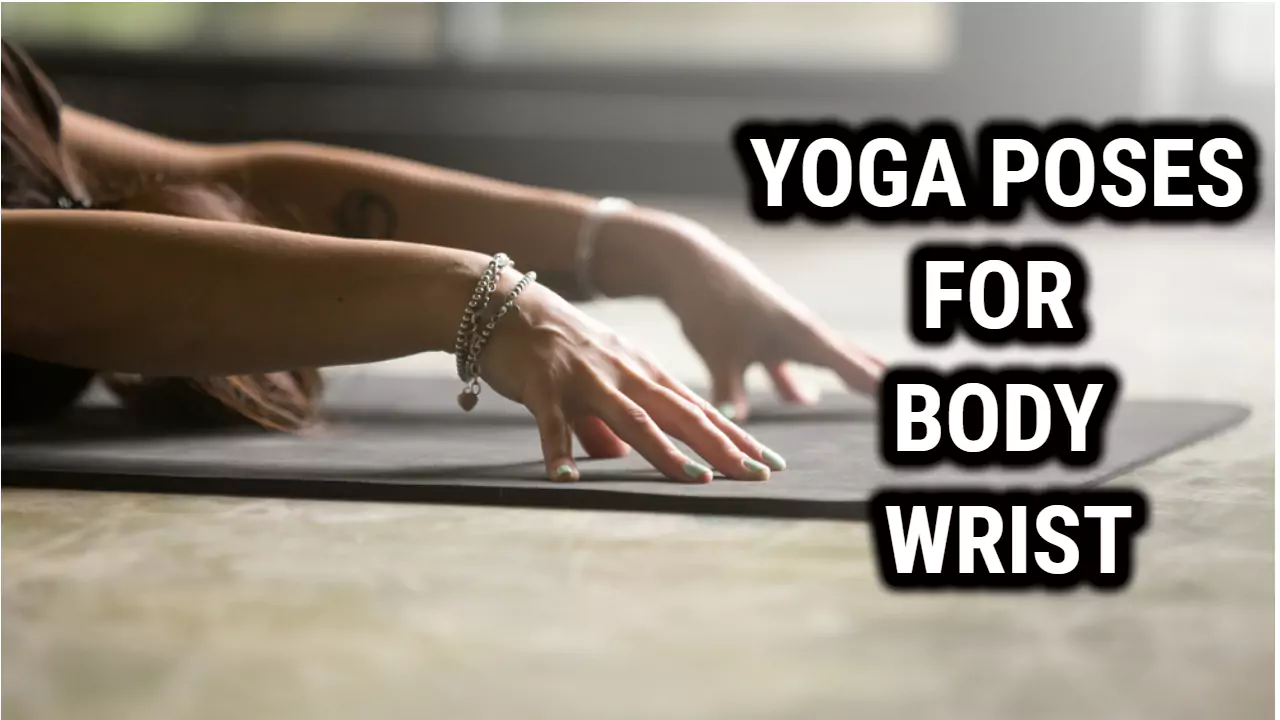
Wrist pain is a common issue for many people, especially for those who perform activities that require repetitive motion, such as typing or playing an instrument. Yoga poses that focus on the wrists can help alleviate pain and prevent future injuries.
Yoga instructors recommend incorporating wrist-strengthening exercises into your practice to improve flexibility and joint stability. Certain poses, such as Crow, Chaturanga, Handstand, Plank, and Side Plank, are particularly effective at strengthening the wrists. However, it’s important to perform these poses correctly to avoid further injury.
By practicing wrist yoga poses, individuals can improve their overall wrist health and reduce the risk of developing conditions such as carpal tunnel syndrome. These poses can also help increase grip strength and range of motion, making everyday activities easier and more comfortable.
Why Wrist Yoga Poses are Important
Wrist yoga poses are essential for anyone who wants to maintain healthy wrists and prevent injuries. The wrists are one of the most used joints in the body, and they are involved in many daily activities, such as typing, cooking, and carrying objects.
In addition, they are also heavily involved in yoga poses, such as Downward-Facing Dog, Plank, and Chaturanga.
By practicing wrist yoga poses, individuals can strengthen the muscles and tendons in their wrists, which can help prevent common wrist injuries such as carpal tunnel syndrome and tendonitis.
Wrist yoga poses can also improve wrist flexibility, which can help reduce the risk of injury during physical activities.
Moreover, wrist yoga poses can improve overall body alignment and posture. When the wrists are weak or injured, individuals may compensate by shifting their weight to other parts of their body, such as their shoulders or neck. This can lead to muscle imbalances and poor posture, which can cause further injuries down the line.
It is important to note that individuals should always listen to their bodies and avoid pushing themselves too hard when practicing wrist yoga poses.
If an individual experiences pain or discomfort in their wrists, they should modify the pose or stop practicing altogether. Additionally, individuals should always warm up their wrists before practicing any yoga poses that involve the wrists.
Common Wrist Injuries
Wrist injuries are a common occurrence in yoga, especially for those who practice frequently or have pre-existing conditions. Here are a few common wrist injuries:
- Wrist Sprains: A wrist sprain is a stretch or tear in the ligaments that connect the bones in the wrist. This type of injury can occur from falling on an outstretched hand or from repetitive motions, such as those performed in yoga.
- Carpal Tunnel Syndrome: Carpal tunnel syndrome is a condition that occurs when the median nerve, which runs from the forearm into the hand, becomes compressed at the wrist. This can cause numbness, tingling, and weakness in the hand and wrist.
- Tendinitis: Tendinitis is an inflammation or irritation of the tendons that attach muscle to bone. This type of injury can occur from overuse or repetitive motions, such as those performed in yoga.
It’s important to note that wrist injuries can vary in severity and may require different treatments. It’s always best to consult with a healthcare professional if you’re experiencing pain or discomfort in your wrists.
When practicing yoga with a wrist injury, it’s important to modify poses and avoid putting too much weight on your hands and wrists. Some modifications include:
- Using props, such as blocks or blankets, to support your wrists and reduce the amount of weight on them.
- Modifying poses, such as Plank or Downward-Facing Dog, by coming onto your forearms instead of your hands.
- Avoiding poses that put a lot of weight on your hands and wrists, such as Crow or Handstand.
By taking these precautions and modifying your practice, you can protect your wrists and prevent further injury.
Also Read : Boost Your Muscle Strength with These Yoga Techniques
10 Wrist Yoga Poses to Strengthen and Stretch Your Wrists
Yoga is an excellent way to strengthen and stretch your wrists. Here are ten wrist yoga poses that can help you improve your wrist flexibility and avoid potential injury:
1. Extended Arms From a seated position, extend your arms out straight in front of you. Flex one of your wrists so that your fingers are pointing towards the sky. Use your other hand to gently pull your fingers back towards your wrist. Hold for 30 seconds and then switch to the other wrist.
2. Downward-Facing Dog Begin in a tabletop position with your hands and knees on the ground. Lift your hips up and back, straightening your arms and legs. Spread your fingers wide and press your palms into the ground. Hold for 30 seconds.
3. Upward-Facing Dog Lie face down on the ground with your hands under your shoulders. Press your palms into the ground and lift your chest up, straightening your arms. Hold for 30 seconds.
4. Cat-Cow Stretch Begin in a tabletop position with your hands and knees on the ground. Inhale and arch your back, lifting your head and tailbone towards the ceiling. Exhale and round your spine, tucking your chin to your chest. Repeat for 10 rounds.
5. Wrist Circles Extend your arms out in front of you and rotate your wrists in circles, first clockwise and then counterclockwise. Repeat for 10 rounds.
6. Eagle Arms Cross your right arm over your left arm at the elbow and bring your palms together. Lift your elbows up and away from your body. Hold for 30 seconds and then switch to the other arm.
7. Cow Face Arms Bring your right arm up and over your shoulder, bending your elbow and reaching your hand down your back. Reach your left arm behind your back and try to clasp your hands together. Hold for 30 seconds and then switch to the other arm.
8. Half Lord of the Fishes Pose Sit on the ground with your legs extended in front of you. Bend your right knee and place your foot on the ground outside your left thigh. Twist your torso to the right, placing your left elbow on the outside of your right knee. Hold for 30 seconds and then switch to the other side.
9. Handstand Begin in Downward-Facing Dog. Walk your feet towards your hands until your hips are over your shoulders. Lift one leg up and then the other, coming into a handstand. Hold for 30 seconds.
10. Plank Pose Begin in a push-up position with your hands directly under your shoulders. Hold for 30 seconds, keeping your body in a straight line from your head to your heels.
11. Wrist Flexion Begin in a seated or standing position, with your arms outstretched in front of you. Interlace your fingers and slowly bend your wrists inward towards your body. Hold for 30 seconds and then slowly bring your wrists back to the starting position.
Remember to listen to your body and never push yourself too far. If you experience any pain or discomfort, stop the pose and rest. With consistent practice, these wrist yoga poses can help you improve your wrist strength and flexibility.
Precautions Before Starting Wrist Yoga Poses
Wrist yoga poses can be challenging and require a certain level of strength and flexibility. Before starting any wrist yoga poses, it is important to take some precautions to avoid injury and ensure a safe practice. Here are some things to keep in mind:
- Warm-up: Always warm up your wrists before starting any yoga practice. You can do wrist circles, wrist stretches, and wrist rotations to prepare your wrists for the poses.
- Listen to your body: If you feel any pain or discomfort in your wrists, stop the pose immediately. You should never push yourself beyond your limits and always respect your body’s limitations.
- Use props: Using props such as blocks, blankets, or straps can help you modify the poses and avoid putting too much pressure on your wrists.
- Proper alignment: Make sure to align your wrists properly during the poses. Keep your wrists straight and avoid deviating to the little finger side. This will help prevent any strain on your wrists.
- Gradual progression: If you are new to wrist yoga poses, start with the basic poses and gradually progress to the more advanced ones. Don’t rush into the poses and take your time to build strength and flexibility.
- Consult with a doctor: If you have any pre-existing wrist injuries or conditions, it is important to consult with a doctor before starting any yoga practice. They can provide you with specific recommendations and modifications to ensure a safe practice.
By following these precautions, you can ensure a safe and enjoyable wrist yoga practice. Remember to always listen to your body and respect your limitations. With time and practice, you can build strength and flexibility in your wrists and enjoy the many benefits of wrist yoga poses.
Related Read: Yin Yoga Poses for Relaxation and Flexibility
Wrapping Up
Wrist yoga poses are a great way to strengthen and stretch the wrists, which can help prevent injury and reduce pain. By incorporating these poses into a regular yoga practice, individuals can improve their overall wrist health and flexibility.
Some of the most effective wrist yoga poses include downward dog, plank pose, and cow face pose. These poses target the wrists and the surrounding muscles, helping to increase strength and flexibility.
It is important to approach wrist yoga poses with caution, especially if you have a history of wrist injuries or pain. Always listen to your body and modify poses as needed to avoid discomfort or aggravating an existing injury.
Remember that wrist yoga poses are just one aspect of a healthy yoga practice. It is important to also incorporate other types of poses, such as those that target the back, legs, and core, in order to achieve a well-rounded practice.
Overall, wrist yoga poses can be a valuable tool for anyone looking to improve their wrist health and prevent injury. By practicing these poses regularly and with proper technique, individuals can enjoy the benefits of stronger, more flexible wrists.


